
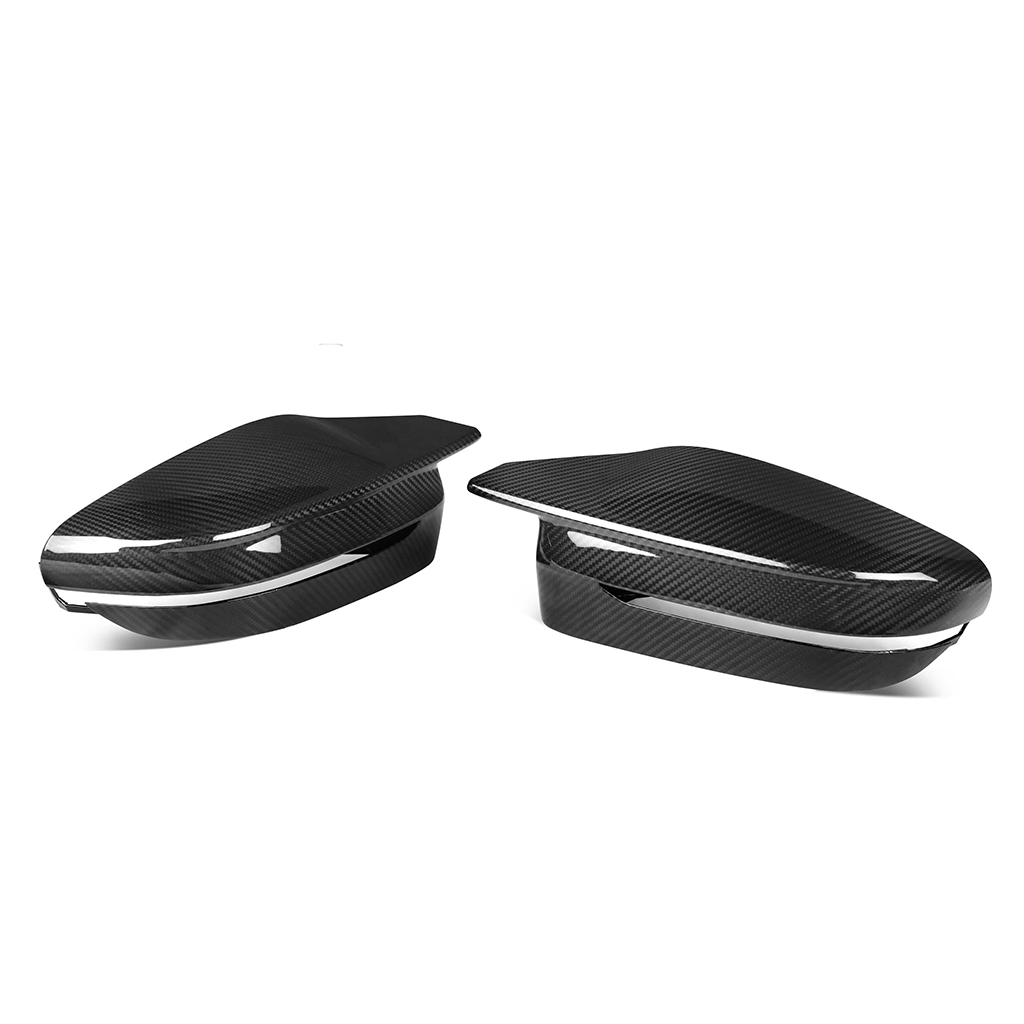
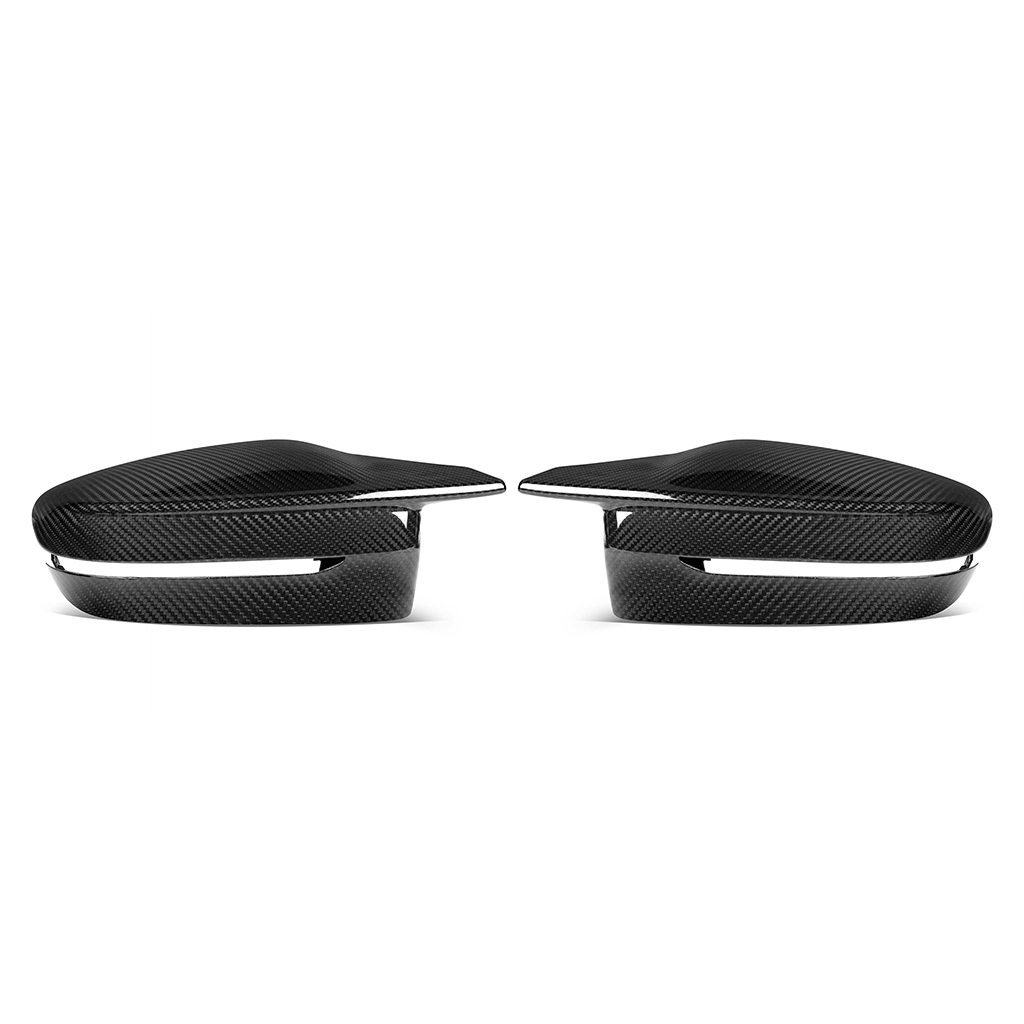
Protecting your car from scrapes doesn’t have to be complicated. By adding carbon fiber body scrape guards, you can shield your vehicle from damage while giving it a sleek, modern look. The process to install these guards is simple and doesn’t require advanced skills. With the right preparation, you’ll achieve a secure fit and long-lasting protection. Whether you’re a car enthusiast or just want to keep your ride in top shape, this upgrade is a practical and stylish choice.
Key Takeaways
-
Get tools like a ruler, sharp knife, and hairdryer first.
-
Wash the car’s surface well so the glue sticks better.
-
Measure and mark spots carefully for a neat finish.
-
Warm the glue with a hairdryer to make it stick stronger.
-
Check and clean the guards often to keep them working and looking good.
Tools and Materials for Installing Carbon Fiber Body Scrape Guards
Before you start installing carbon fiber body scrape guards, gather the right tools and materials. Having everything ready will make the process smoother and more efficient.
Essential Tools
You don’t need a toolbox full of fancy gadgets, but a few basic tools are essential:
-
Measuring tape or ruler: Use this to measure the length of the scrape guards and mark the installation points accurately.
-
Utility knife or scissors: These will help you trim the scrape guards to the perfect size.
-
Heat gun or hairdryer: A little heat can make the adhesive bond stronger and ensure a snug fit.
-
Screwdriver or drill (if required): Some kits may include screws or clips for extra security, so keep these tools handy.
Tip: If you don’t have a heat gun, a regular hairdryer works just as well for this project.
Materials
The materials you’ll need are just as important as the tools. Here’s what to have on hand:
-
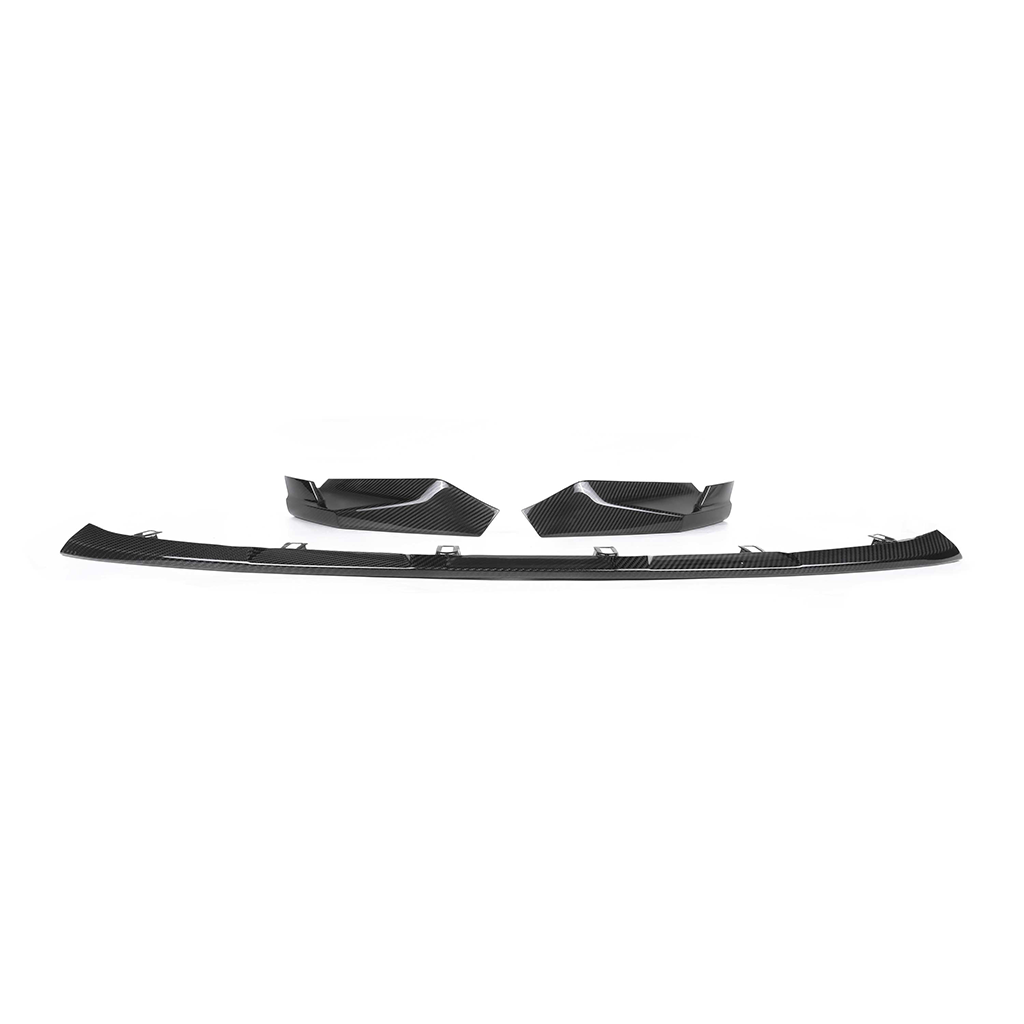
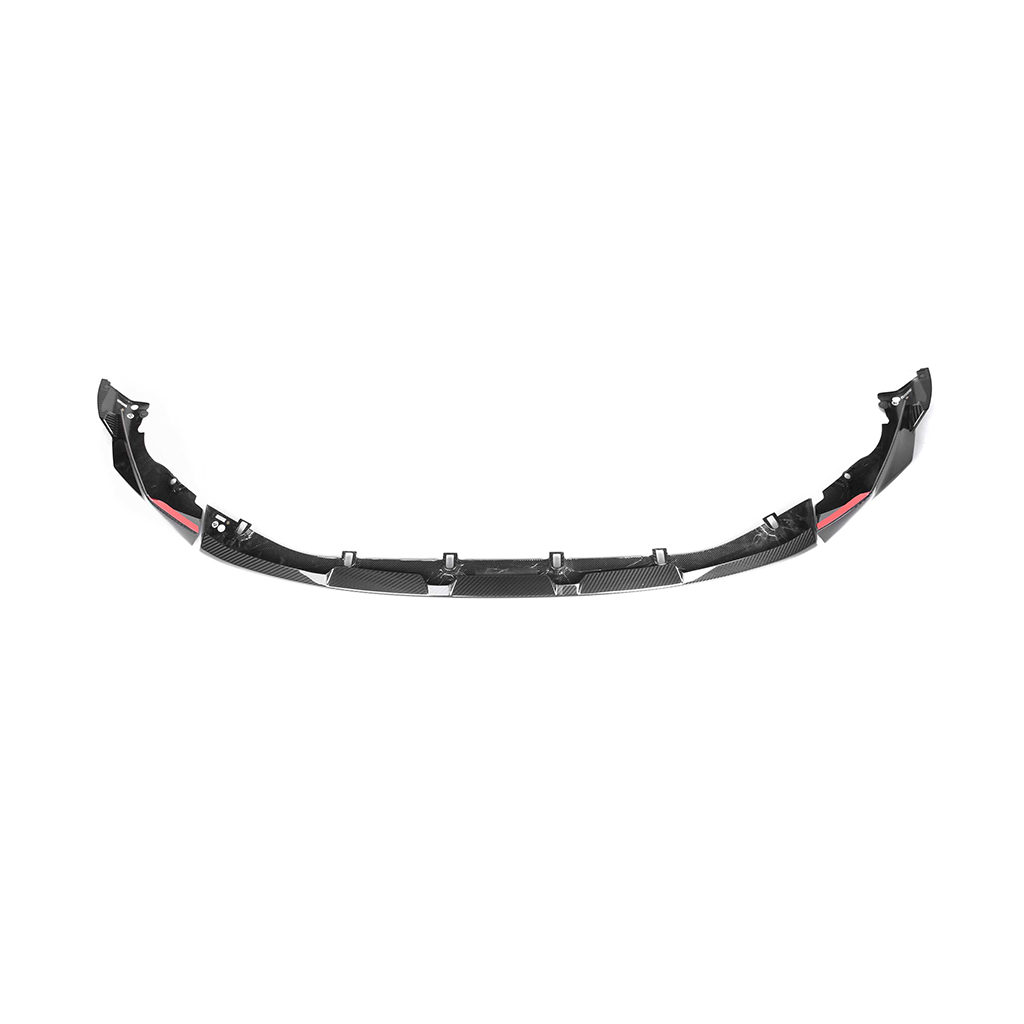
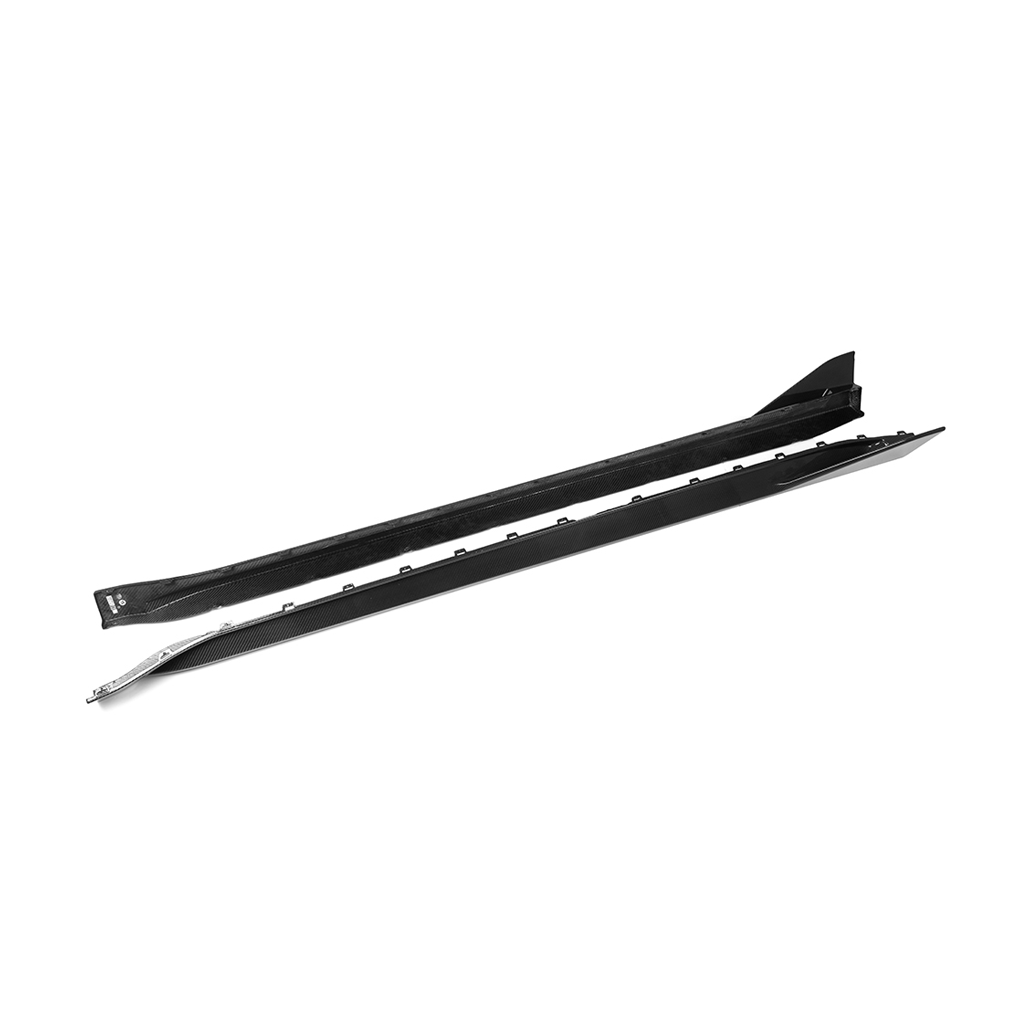
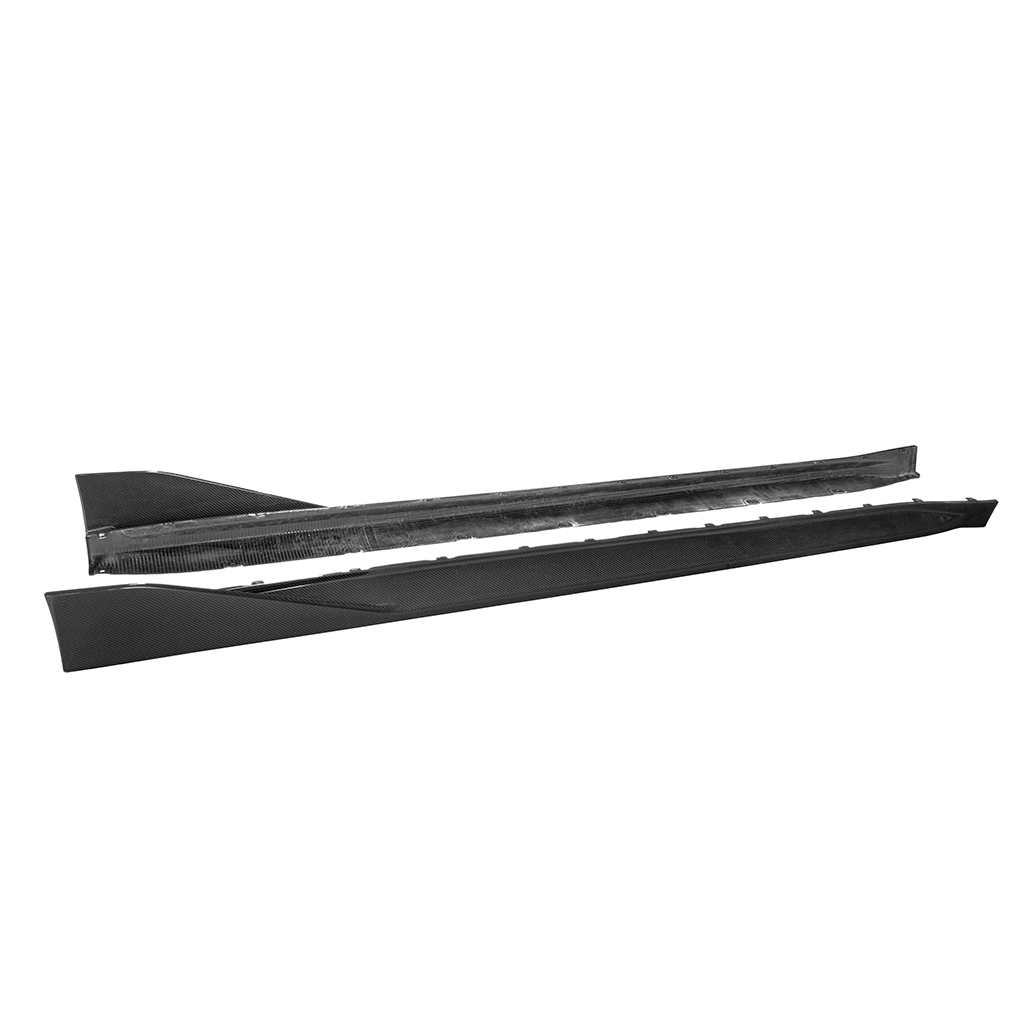
Carbon fiber body scrape guards: These are the stars of the show. Choose a high-quality set for durability and style.
-
Adhesive promoter or double-sided automotive tape: These ensure the scrape guards stick firmly to your car.
-
Cleaning supplies: Use soap, water, a microfiber cloth, and rubbing alcohol to prep the surface. A clean surface is key to a strong bond.
Where to Find a Kit
Finding the right kit is easy if you know where to look.
-
Online automotive stores: Websites like Amazon or specialty car accessory sites often have a wide selection of kits, including carbon fiber front splitter kits.
-
Local car accessory shops: Visit your nearest store to see the options in person and get advice from experts.
-
Hardware stores: While they may not carry scrape guards, they’re great for picking up general tools like scissors or a heat gun.
Note: Always check the product description to ensure the kit includes everything you need for installation.
With the right tools and materials, you’re all set to start the installation process. Let’s move on to preparing your car for its new protective upgrade!
Preparing for the Installation
Before you start attaching the scrape guards, it’s important to prepare your car and the materials. A little prep work goes a long way in ensuring a smooth installation and a secure fit.
Clean the Car’s Surface
The first step is to clean the area where you’ll install the scrape guards. Dirt, grease, or residue can weaken the adhesive, so don’t skip this step.
-
Wash the surface thoroughly with soap and water. Use a microfiber cloth to scrub away any grime.
-
Once the area is dry, apply rubbing alcohol to remove any leftover grease or residue. This step ensures the adhesive sticks properly.
Tip: Avoid using harsh chemicals or abrasive cleaners. They can damage your car’s paint.
Measure and Mark the Installation Points
Accurate measurements are key to a professional-looking result. Here’s how to do it:
-
Use a measuring tape to determine the length of the scrape guards. If you’re installing a carbon fiber skidplate, make sure to measure the entire area it will cover.
-
Mark the installation points with masking tape or a washable marker. This will help you align the guards perfectly during installation.
Pro Tip: Double-check your measurements before moving on. It’s easier to adjust now than after the guards are attached.
Prepare the Carbon Fiber Skidplate or Guards
Now it’s time to get the scrape guards or skidplate ready for installation.
-
Trim the scrape guards to the desired length if needed. Use a utility knife or scissors for precise cuts.
-
Test fit the guards by placing them along the marked points. This step helps you ensure proper alignment and avoid surprises during installation.
Note: If you’re using a kit, check the instructions for any specific preparation steps.
By following these preparation steps, you’ll set yourself up for a smooth and hassle-free installation process.
Step-by-Step Installation of Carbon Fiber Body Scrape Guards
Apply Adhesive Promoter or Tape
To start, you’ll need to prepare the surface for a strong bond. If your kit includes an adhesive promoter, follow these steps for the best results:
-
Apply the adhesive promoter evenly across the marked area. Move swiftly to ensure smooth coverage.
-
Don’t stress about precision—the sponge applicator is designed to make this step easy.
-
Let the promoter dry for 30 seconds to 1.5 minutes. This gives it time to activate.
-
If you accidentally apply too much, clean it up with methyl ethyl ketone or acetone. Make sure you’re in a well-ventilated area for safety.
If you’re using double-sided automotive tape instead, attach it to the back of the scrape guards. Press firmly to ensure it sticks properly.
Tip: Double-check the instructions in your kit to see if both adhesive promoter and tape are required.
Align and Position the Scrape Guards
Now it’s time to position the scrape guards. Carefully line them up with the marks you made earlier. Take your time here—alignment is key to a clean, professional look.
-
Place the scrape guards along the marked points without pressing them down yet.
-
Step back and double-check the alignment. Adjust as needed to ensure everything looks straight and even.
Pro Tip: If you’re installing a carbon fiber skidplate, make sure it’s centered and covers the bumper area completely.
Secure the Scrape Guards
Once you’re happy with the alignment, it’s time to secure the scrape guards. Start at one end and work your way along the length of the guard.
-
Press firmly to ensure the adhesive sticks to the car’s surface. Use consistent pressure for the best results.
-
For an even stronger bond, use a heat gun or hairdryer. Gently heat the adhesive as you press it down. This step helps activate the adhesive and ensures a snug fit.
Note: Be careful not to overheat the adhesive or the carbon fiber material. A little warmth goes a long way.
By following these steps, you’ll successfully install your carbon fiber body scrape guards. The process is straightforward, and the results will protect your car while enhancing its appearance.
Optional: Use Screws or Clips for Extra Security
Sometimes, adhesive alone might not feel secure enough, especially if you’re installing scrape guards in areas prone to heavy wear. That’s where screws or clips come in handy. If your kit includes these, they can provide extra stability and peace of mind. Here’s how you can use them effectively.
Follow the Manufacturer’s Instructions
First, check the instructions that came with your kit. Every manufacturer designs their screws or clips differently, so it’s important to follow their specific guidelines. Skipping this step could lead to improper installation or even damage to your car.
Once you’ve reviewed the instructions, gather the necessary tools. You’ll likely need a screwdriver or drill. If you’re installing a skidplate or larger scrape guard, you might also need a wrench. Make sure you have everything ready before you start.
Position and Secure the Screws or Clips
Begin by aligning the scrape guard with the marked points on your car. Hold it firmly in place while you attach the screws or clips. Start at one end and work your way to the other. This ensures the guard stays aligned as you secure it.
For screws, drill pilot holes if the instructions recommend it. This prevents cracking or splitting the material. Tighten the screws just enough to hold the guard securely, but don’t overtighten. Overdoing it could damage the carbon fiber or your car’s surface.
If you’re using clips, snap them into place according to the instructions. Double-check that each clip is fully secured before moving on.
Tip: After securing the screws or clips, give the scrape guard a gentle tug. This helps confirm everything is firmly in place.
Adding screws or clips might take a little extra time, but it’s worth it for the added durability. You’ll feel confident knowing your scrape guards are ready to handle whatever the road throws at them.
Post-Installation Tips for Scrape Armor Bumper Protection
Check for Proper Adhesion
After installing your carbon fiber body scrape guards, take a moment to inspect them. Look closely to ensure they’re firmly attached along the entire length. If you notice any areas where the adhesive isn’t sticking well, don’t worry—it’s an easy fix.
Reapply pressure to those spots using your hands. For a stronger bond, grab your heat gun or hairdryer and gently warm the adhesive while pressing down. This step activates the adhesive and helps it grip the surface better. Just be careful not to overheat the material. A little warmth goes a long way in securing your scrape armor bumper protection.
Maintenance and Cleaning
Keeping your scrape guards clean not only maintains their sleek look but also extends their lifespan. Regular cleaning is simple and doesn’t take much time. Use mild soap and water to wash away dirt and debris. A microfiber cloth works great for wiping them down without scratching the surface.
Avoid abrasive cleaners or harsh chemicals, as they can damage the carbon fiber finish. If you’re dealing with stubborn spots or light etchings, consider using products like:
These products are safe for carbon fiber and help maintain the guards’ glossy appearance.
Monitor for Wear and Tear
Even with proper installation and care, it’s a good idea to check your scrape guards periodically. Look for signs of peeling, cracks, or other damage. If you notice any issues, address them right away to keep your front bumper scrape protection effective.
For minor peeling, reapply adhesive or use a heat gun to secure the edges. If the damage is more severe, you might need to replace the affected section. Most kits include extra material or instructions for repairs, so you’ll be prepared for any situation.
By staying on top of maintenance, you’ll ensure your skidplate or scrape guards continue to protect your bumper and enhance your car’s appearance for years to come.
Installing carbon fiber body scrape guards is a quick and rewarding way to protect your car while giving it a sleek, modern look. These guards not only shield your vehicle from damage but also contribute to better fuel efficiency due to their lightweight design. This means fewer emissions and a smaller carbon footprint, making them a smart choice for eco-conscious drivers. With the right tools and preparation, you can install them yourself and enjoy long-lasting protection. Take pride in your work and the added durability it brings to your car.


Share:
What Are Lightweight Carbon Fiber Engine Mounts and Why They Matter
Impact of Valve Opening Angle on Torque in Hydrodynamic Applications