


How to Lower Car Suspension Safely and Effectively

Lowering a vehicle’s suspension can transform its performance and appearance, but it requires careful planning on how to lower car suspension effectively. You need the right tools and techniques to ensure safety and effectiveness. Using aftermarket components like lowering springs or torsion keys provides reliable results when learning how to lower car suspension. Avoid risky shortcuts, such as heating or cutting springs, as they weaken the suspension and compromise your safety. Proper car modifications demand attention to detail and adherence to best practices. By following proven methods on how to lower car suspension, you can achieve a lowered stance without sacrificing control or durability.
Key Takeaways
Lowering your car’s suspension can make it handle better. A lower center of gravity helps reduce tilting and improves grip.
Always use good-quality parts like lowering springs or blocks. These parts keep your car safe and the suspension working right.
Do not cut springs or use unsafe methods. These can damage the suspension and make the car harder to control.
Check your car often and take test drives after changes. This helps find problems early and keeps your car safe to drive.
Follow the car maker’s guidelines for parts that fit. This avoids damage and keeps your car working its best.
Types of Suspension and How to Lower Them

Understanding how to lower car suspension starts with knowing the type of suspension your vehicle uses. Each system has unique characteristics and requires specific methods for lowering. Below is a table summarizing common suspension types:
Type of Suspension | Description |
|---|---|
MacPherson Strut Suspension | A popular independent suspension system combining a shock absorber and coil spring into one unit. |
Double Wishbone Suspension | Uses two control arms to maintain wheel verticality during travel, enhancing grip and handling. |
Multi-link Suspension | Consists of several control arms for precise wheel movement control, balancing comfort and performance. |
Leaf Spring Suspension | An older system primarily used in heavy-duty vehicles, absorbing shocks and distributing weight. |
Solid Axle Suspension | A rigid axle connecting two wheels, commonly used in trucks and off-road vehicles for durability. |
Air Suspension | Replaces springs with air-filled bags for adjustable ride height and comfort. |
Hydraulic Suspension | Uses hydraulic fluid for dynamic adjustments in suspension height and stiffness. |
Torsion Beam Suspension | A cost-effective system using a solid beam that twists to absorb shocks, suitable for compact cars. |
Coil Spring Suspension | Commonly used in modern cars, utilizing coiled metal springs to absorb shocks and maintain height. |
Electronic Suspension Systems | Advanced systems that adjust stiffness and damping in real-time based on conditions and behavior. |
How to Lower Coil Spring Suspension
Using Aftermarket Lowering Springs
Lowering springs are the most effective way to reduce the height of a coil spring suspension. These springs replace the factory ones, offering a lower ride height while maintaining proper suspension geometry. To install them, follow these steps:
Raise the car’s front end and secure it with jack stands.
Remove the wheels and the front strut assembly.
Use a spring compressor to safely remove the coil spring.
Replace the factory spring with the lowering spring.
Reassemble the strut and reinstall it on the vehicle.
This method ensures a safe and stable ride while achieving the desired lowered stance.
Why Cutting Springs is Not Recommended
Cutting springs may seem like a quick fix, but it poses significant risks. Improper cutting methods can weaken the spring’s structure, leading to unpredictable handling. Excessive cutting can cause coil binding, where the spring compresses fully and loses its ability to absorb shocks. This results in a bumpy ride and potential suspension damage. Always opt for lowering springs or consider installing coilovers for a safer and more reliable solution.
How to Lower Leaf Spring Suspension
Installing Lowering Blocks
Lowering blocks are a cost-effective way to lower leaf spring suspensions. These blocks fit between the axle and the leaf spring, reducing the vehicle’s height. To install them:
Raise the vehicle and secure it with jack stands.
Remove the U-bolts holding the leaf spring.
Place the lowering block between the axle and the spring.
Reinstall the U-bolts and tighten them securely.
This method works best for small height adjustments, typically around one inch.
Re-arching Leaf Springs
Re-arching involves reshaping the leaf springs to achieve a lower stance. This process requires specialized equipment and is best performed by professionals. While effective, it may reduce the spring’s lifespan due to the stress of reshaping. Consider this option if lowering blocks do not meet your needs.
How to Lower Torsion Bar Suspension
Adjusting Torsion Keys
Torsion bar suspensions allow for easy height adjustments by modifying the torsion keys. To lower the vehicle:
Lift the front end to let the suspension hang freely.
Locate the adjustment bolt on the torsion bar.
Turn the bolt to reduce the height, ensuring both sides are even.
Test drive the vehicle and remeasure the height.
This method provides precise control over the suspension height.
Replacing Torsion Keys
For a more significant drop, replace the factory torsion keys with aftermarket lowering keys. These keys are designed to allow greater adjustments without compromising the suspension’s integrity. This method is ideal for achieving a more aggressive stance while maintaining ride quality.
How to Lower Air Suspension
Adjusting Air Pressure
Adjusting air pressure is the simplest way to lower a vehicle equipped with air suspension. This method involves reducing the air pressure in the suspension system’s air springs. By doing so, you can lower the ride height temporarily or permanently, depending on your needs. To adjust the air pressure:
Locate the air suspension control system in your vehicle.
Use the control panel or a compatible app to reduce the air pressure in the air springs.
Monitor the ride height as you make adjustments to ensure even lowering on all sides.
This method works well for minor adjustments and allows you to experiment with different heights. However, lowering the air pressure too much can compromise ride quality and handling. Always aim for a balance between aesthetics and performance.
Installing Aftermarket Air Suspension Kits
Installing air suspension kits is a more advanced and permanent solution for lowering your vehicle. These kits replace the factory air suspension components with aftermarket parts designed for better adjustability and performance. The benefits of using these kits include:
Adjustable ride height for various driving conditions.
Improved handling by reducing body roll during cornering.
Enhanced comfort through better absorption of road imperfections.
Versatility to adapt the suspension’s firmness and height as needed.
To install an aftermarket kit, follow these steps:
Purchase a high-quality kit compatible with your vehicle.
Remove the factory air suspension components.
Install the new air springs, shocks, and control system according to the manufacturer’s instructions.
Test the system to ensure proper functionality and adjustability.
This method provides a long-term solution for achieving a lowered stance while maintaining excellent ride quality. It also allows you to fine-tune the suspension for different scenarios, making it a versatile option.
Tip: Always consult a professional if you’re unsure about installing air suspension kits yourself. Proper installation ensures safety and optimal performance.
Tools and Materials for Lowering a Vehicle’s Suspension

Essential Tools for Suspension Work
To lower your car’s suspension safely, you need the right tools. These tools ensure precision and reduce the risk of damage during the process. Here’s a list of essential items:
Jack and jack stands for lifting and securing the vehicle.
Wrenches and a socket set for loosening and tightening bolts.
A torque wrench to ensure bolts are tightened to the correct specifications.
A strut spring compressor for safely removing and installing coil springs.
Rust loosening spray or WD-40 to handle stubborn or corroded bolts.
Wheel chocks to prevent the car from rolling during the process.
A universal lowering kit, which includes components like lowering blocks or springs.
These tools form the foundation for any suspension modification project. Having them on hand ensures you can work efficiently and safely.
Safety Equipment to Ensure Safe Modifications
Safety should always come first when working on your car. Without proper safety equipment, you risk serious injuries. For example, suspension components under tension can release with significant force, causing harm. To protect yourself, use the following:
Safety goggles to shield your eyes from debris or flying parts.
Heavy-duty gloves to protect your hands from sharp edges and hot surfaces.
A sturdy workbench or platform to keep tools and parts organized.
Proper lighting to ensure you can see every detail clearly.
Failing to use safety equipment can lead to severe consequences. For instance, improper handling of suspension components may cause injuries like suspension trauma, which can affect blood flow and lead to serious health risks. Always prioritize your safety by using the right gear.
Optional Tools for Precision and Efficiency
While essential tools are enough for most tasks, optional tools can make the job easier and more precise. Consider using:
An air compressor and air impact gun for faster removal of bolts.
A digital angle finder to measure suspension geometry accurately.
A hydraulic press for re-arching leaf springs or pressing in bushings.
Wood blocks or tire chocks for additional stability during the process.
These tools enhance efficiency and help you achieve professional-level results. If you plan to work on multiple vehicles or perform advanced modifications, investing in these tools can save time and effort.
Tip: Always double-check your tools and equipment before starting. A well-prepared workspace ensures a smoother and safer experience.
Costs of Lowering a Vehicle’s Suspension
DIY Costs and Budget Considerations
Lowering your car’s suspension yourself can save you a lot of money. You only need to pay for the parts, which makes this option budget-friendly. For example, lowering springs or blocks typically cost between $100 and $300. If you already own basic tools like a jack, wrenches, and a spring compressor, you can avoid additional expenses. However, purchasing specialized tools may increase your costs slightly. While DIY methods save money, they require time, effort, and mechanical knowledge. Mistakes during installation can lead to costly repairs, so ensure you follow instructions carefully.
Professional Installation Costs
Hiring a professional to lower your car’s suspension ensures precision and safety. However, this option comes with higher costs. Labor charges for professional installation range from $300 to $1,000, depending on the complexity of the suspension system and local labor rates. For instance, installing lowering springs is less expensive than replacing air suspension components. Although professional services cost more, they provide peace of mind and reduce the risk of errors. If you lack experience or confidence, investing in professional help is a wise choice.
Long-Term Maintenance Costs and Implications
Lowering your car’s suspension affects its long-term maintenance needs. A lowered vehicle experiences increased wear on suspension components, tires, and undercarriage parts. For example, you may need to replace shocks or bushings more frequently. Additionally, alignment adjustments become crucial to prevent uneven tire wear. These maintenance tasks can add up over time, costing you hundreds of dollars annually. To minimize expenses, use high-quality parts and perform regular inspections. Proper care ensures your lowered car remains safe and functional for years.
Pros and Cons of Lowering a Vehicle’s Suspension
Benefits of Lowering Suspension
Improved Handling and Stability
Lowering a vehicle’s suspension enhances its handling by reducing the center of gravity. This adjustment minimizes body roll, allowing your car to remain stable during sharp turns. You’ll notice improved traction as the tires maintain better contact with the road. Plus-sized tires with shorter sidewalls can further enhance grip, making transitions between directions smoother. A lower center of gravity also decreases the risk of rollovers, especially when cornering at higher speeds. These benefits make your car more responsive and predictable, improving overall driving confidence.
Enhanced Aesthetic Appeal
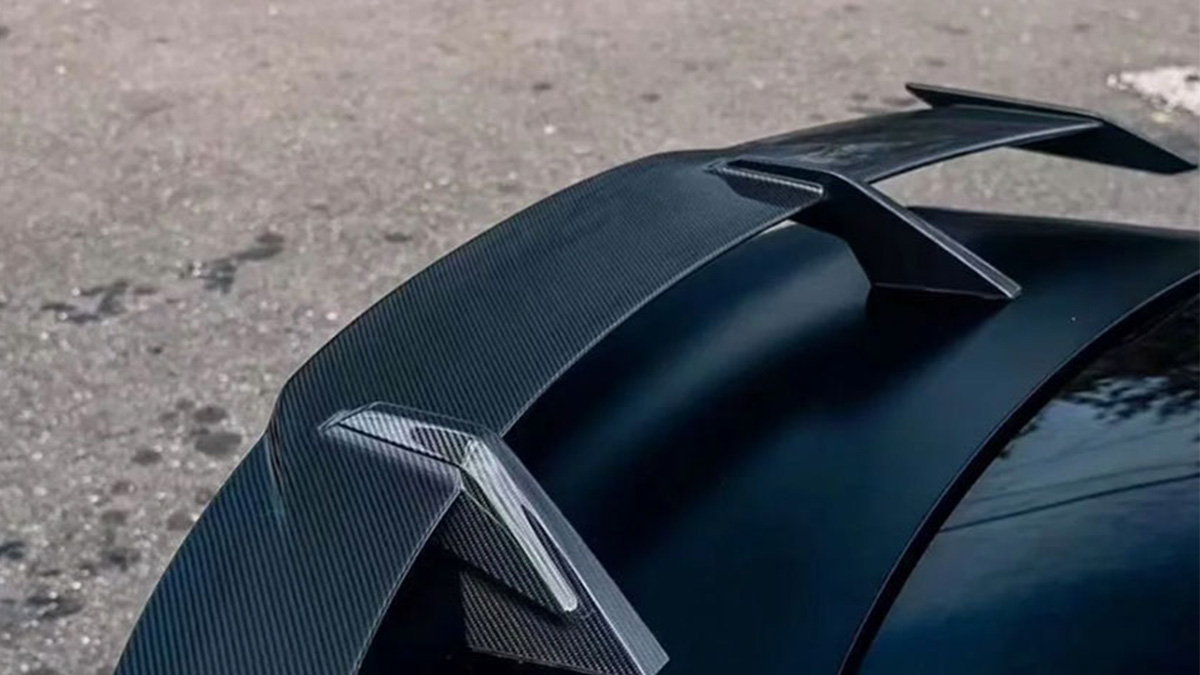
A lowered car often looks more aggressive and stylish. The reduced wheel gap between the tires and fenders creates a sleek, streamlined appearance. Many car enthusiasts choose this modification to give their vehicles a sportier stance. If you enjoy customizing your car, lowering its suspension can significantly enhance its visual appeal, making it stand out on the road.
Better Aerodynamics and Fuel Efficiency
Lowering a vehicle’s suspension can improve aerodynamics by reducing drag. A lower ride height allows air to flow more smoothly over the car, which can lead to better fuel efficiency. While the improvement may not be dramatic, every bit helps, especially for long-distance driving. This benefit combines performance with practicality, making it a popular reason for lowering a vehicle’s suspension.
Drawbacks of Lowering Suspension
Reduced Ride Comfort and Ground Clearance
A lowered suspension often results in a stiffer ride. You may feel more bumps and vibrations because the suspension absorbs impacts less effectively. Additionally, being closer to the ground increases road noise inside the cabin. Reduced ground clearance can also make it challenging to navigate speed bumps, potholes, or steep driveways without scraping the undercarriage.
Increased Wear on Suspension Components
Lowering a vehicle’s suspension changes the geometry of the wheels and tires. This adjustment can lead to uneven or accelerated tire wear. Suspension components like shocks and bushings may also wear out faster due to the added stress. Regular maintenance becomes essential to prevent costly repairs and ensure your car modifications remain safe and functional.
Potential Legal and Insurance Issues
Modifying your car’s suspension can raise legal and insurance concerns. Some jurisdictions have strict regulations on allowable suspension changes. Failing to comply with these rules may result in fines or penalties. Additionally, suspension modifications can void your car’s warranty or increase insurance premiums. Some insurers may even refuse coverage for heavily modified vehicles. Always check local laws and consult your insurance provider before making changes.
Tips for Safe and Effective Suspension Lowering
Follow Manufacturer Guidelines and Recommendations
Following manufacturer guidelines ensures your suspension modifications are safe and effective. Manufacturers design their products to work seamlessly with specific components. When lowering your car, you should:
Choose shocks or struts compatible with your lowering kit.
Consult reputable manufacturers for recommendations on springs or lowering kits.
Use shocks designed for lowered vehicles to prevent premature wear.
Understand the lowering method you’re using, such as springs or coil-overs, and their height adjustments.
Verify if your stock shocks can be reused with modern lowering kits.
These steps help maintain proper suspension geometry and avoid unnecessary damage. Ignoring these guidelines can lead to poor handling and increased wear on your vehicle.
Use High-Quality Aftermarket Components
High-quality aftermarket components improve your car’s performance and longevity. They enhance vehicle responsiveness, especially during tight turns, and improve braking performance. These components also offer tailored customization options, allowing you to achieve a specific look or performance goal. For example, materials like polyurethane provide durability and better performance compared to cheaper alternatives. Investing in quality parts ensures your car modifications not only look great but also function reliably over time. Aesthetic enhancements, such as a sleek lowered stance, can also match your personal preferences while maintaining safety.
Perform Test Drives and Inspections After Modifications
After lowering your car, test drives and inspections are essential. A test drive helps you evaluate how the vehicle handles with its new suspension setup. Pay attention to how it responds during turns, braking, and over uneven surfaces. Inspections allow you to check for loose bolts, uneven lowering, or any unusual noises. Regularly inspect the suspension components to ensure they remain in good condition. These steps help you identify potential issues early and maintain the safety and performance of your vehicle. Proper follow-up ensures your efforts in learning how to lower car suspension yield the best results.
Lowering a car can enhance its performance and appearance when done correctly. Always prioritize safety by using proper tools and following recommended procedures. After modifications, ensure your vehicle remains safe by maintaining proper distances, adapting to road conditions, and avoiding distractions. Regular inspections and servicing keep your suspension and brake systems in optimal condition. Test drives help you identify potential issues early. By understanding the methods, costs, and potential drawbacks, you can make informed decisions and enjoy the benefits of a lowered vehicle while staying safe on the road.