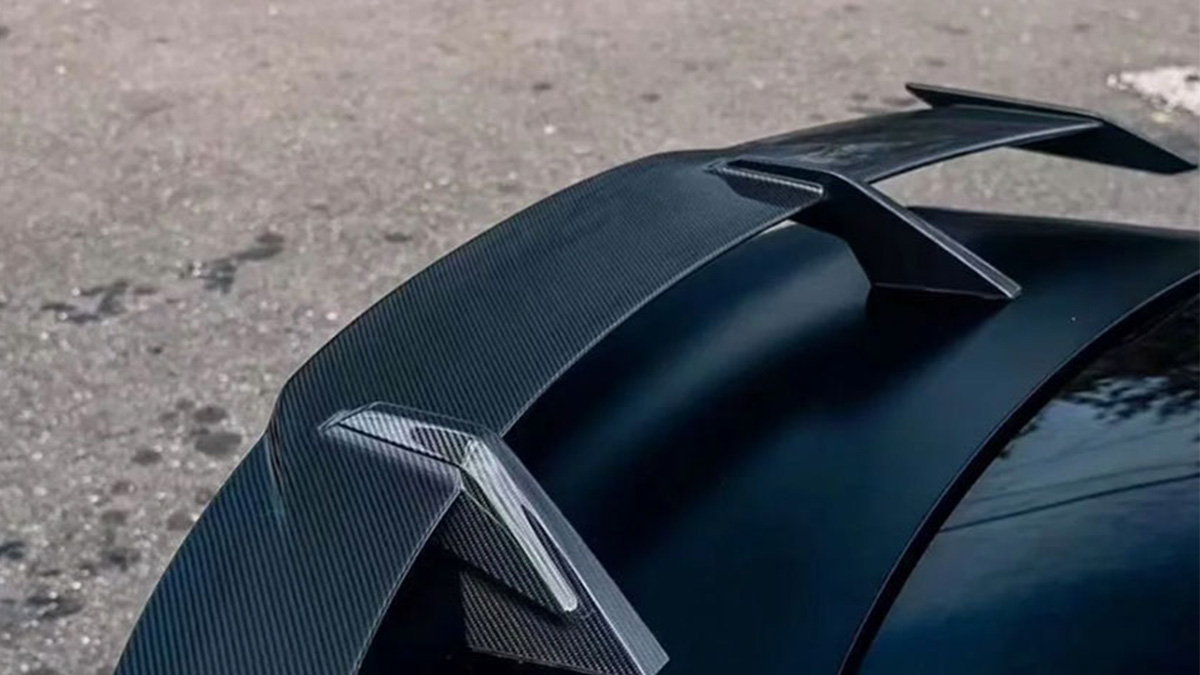

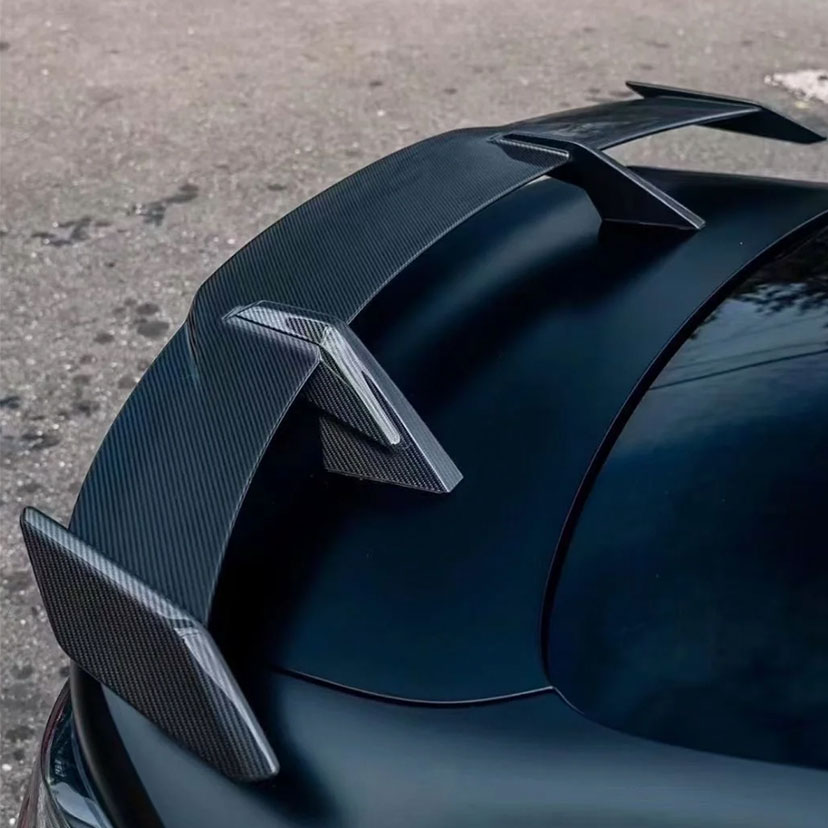


Zo installeer je een BMW M4 Carbon Spoiler in 2025
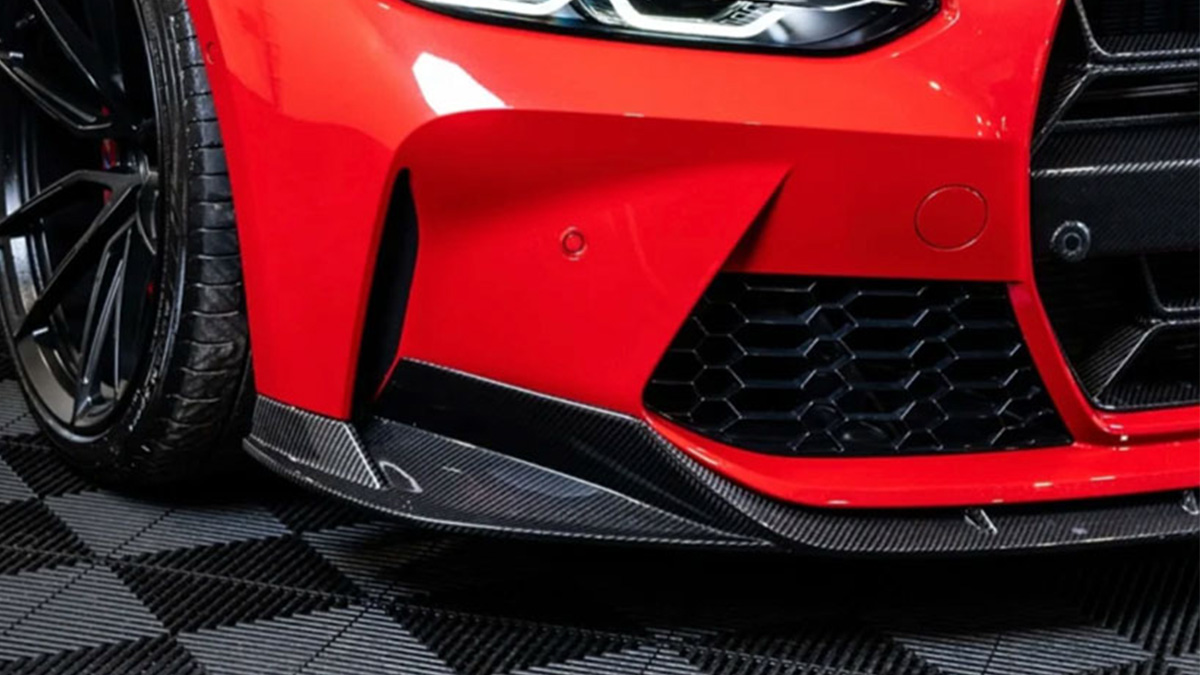
Upgrading your car with a BMW M4 carbon spoiler is a fantastic way to boost its style and performance. This sleek addition not only enhances the aerodynamics of your vehicle but also gives it a sporty edge. You don’t need to be a professional to get it done. With the right tools and a solid DIY install guide, you can have the M4 designed carbon spoiler installed in no time. Whether you’re aiming for aesthetics or functionality, this performance style carbon fiber front lip spoiler is a game-changer for your BMW.
Belangrijkste opmerkingen
Get all tools and materials ready first. You will need screwdrivers, a socket wrench, painter’s tape, and the carbon spoiler.
Clean the area where the spoiler will go. Use a car-safe cleaner and rubbing alcohol to make it smooth and clean for better sticking.
Try placing the spoiler on the car before sticking it. Line it up right and use painter’s tape to mark the spot for a balanced look.
Use adhesive promoter and double-sided tape to stick the spoiler. Follow the marks and press it down hard to make it stay.
Check the spoiler often after putting it on. Look for loose spots and clean it with a soft cloth to keep it shiny.
Tools and Materials for a DIY Install Guide
Before you dive into installing your BMW M4 carbon spoiler, it’s important to gather all the tools and materials you’ll need. Having everything ready will save you time and make the process smoother. Let’s break it down step by step.
Vereist gereedschap
Screwdrivers (Phillips and flathead)
You’ll need both Phillips and flathead screwdrivers. These are essential for removing or securing any screws during the installation process.
Dopsleutelset
A socket wrench set is handy if your spoiler requires bolts for additional security. Make sure you have the right sizes to avoid any hiccups.
Measuring tape or ruler
Precision is key when installing a spoiler. Use a measuring tape or ruler to ensure the spoiler is perfectly centered on your BMW’s trunk.
Painter’s tape
Painter’s tape helps you mark the installation area without damaging your car’s paint. It’s a simple tool that makes alignment much easier.
Heat gun or hairdryer (optional for adhesive removal)
If there’s old adhesive on your trunk, a heat gun or hairdryer can soften it, making removal a breeze. This step ensures a clean surface for the new spoiler.
Benodigde materialen
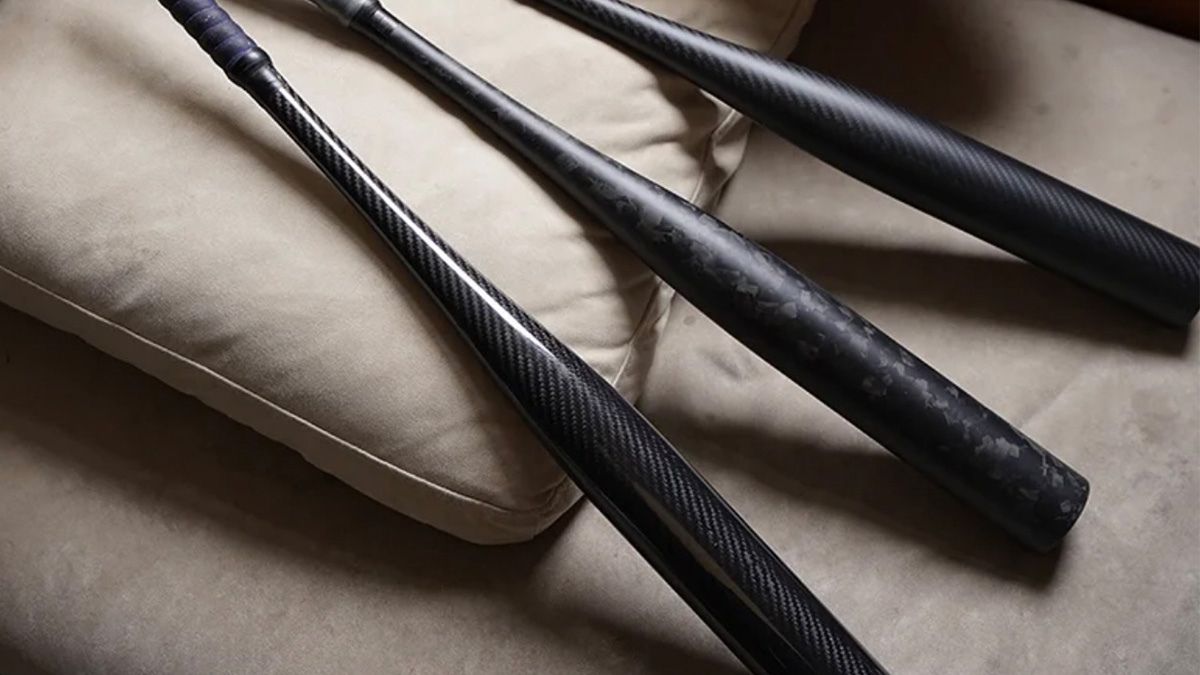
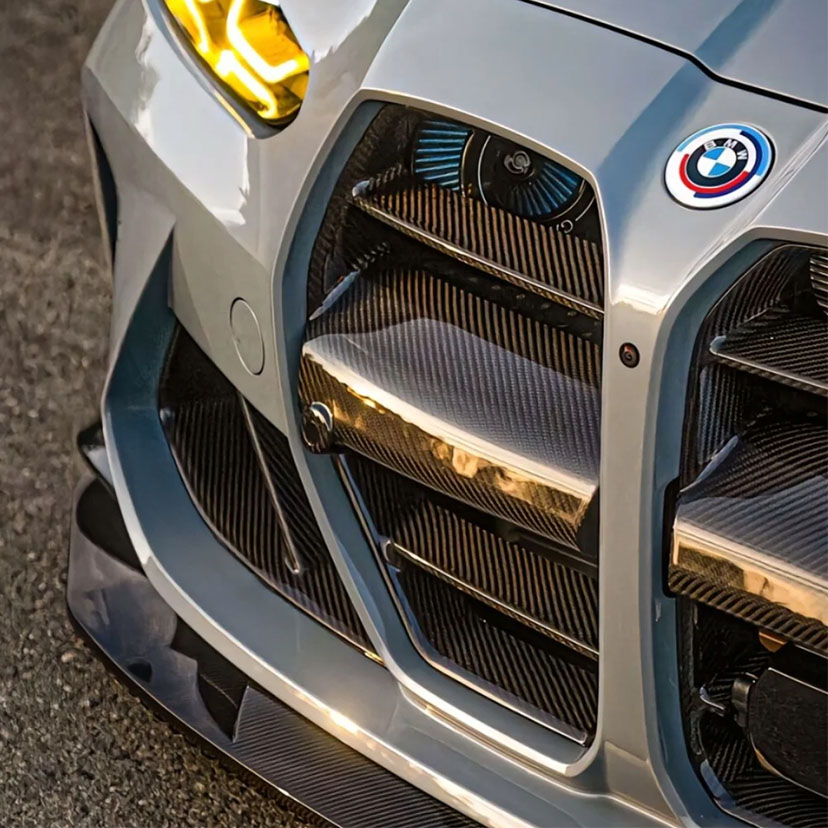
BMW M4 carbon spoiler
The star of the show! Make sure your spoiler is specifically designed for the BMW M4 to guarantee a perfect fit.
Adhesive promoter or double-sided automotive tape
These materials are crucial for securing the spoiler to your car. Choose high-quality options to ensure a strong bond.
Cleaning supplies (microfiber cloth, isopropyl alcohol, car-safe cleaner)
A clean surface is non-negotiable. Use a microfiber cloth with isopropyl alcohol or a car-safe cleaner to remove dirt, grease, and residue.
Beschermende handschoenen
Protective gloves keep your hands clean and safe while handling adhesives and cleaning agents. They’re a small but important addition to your toolkit.
Pro Tip: Double-check your tools and materials before starting. Missing even one item can slow you down or compromise the quality of your installation.
With these tools and materials ready, you’re all set to follow the DIY install guide and give your BMW a sleek new look.
Preparation Steps for Installing the M4 Designed Carbon Spoiler
Before you start attaching your spoiler, you need to prepare your car and the spoiler itself. These steps ensure a smooth installation and a professional finish.
Clean and Prepare the Surface
Wash and dry the rear of the car thoroughly.
Start by giving the rear of your car a good wash. Use a car-safe cleaner to remove dirt, dust, and grime. Once it’s clean, dry the area completely with a microfiber cloth. A dry surface helps the adhesive stick better.
Use isopropyl alcohol to remove grease or residue.
After washing, wipe the trunk with isopropyl alcohol. This step removes any leftover grease or residue that could interfere with the adhesive. Use a clean microfiber cloth for this. Make sure the surface feels smooth and residue-free before moving on.
Inspect and Test-Fit the Spoiler
Check the spoiler for any damage or defects.
Take a moment to inspect your BMW M4 carbon spoiler. Look for cracks, scratches, or any other defects. It’s better to catch these issues now than after installation.
Test-fit the spoiler to ensure proper alignment.
Place the spoiler on the trunk without attaching it. This test-fit helps you see how it aligns with the car. Adjust it until it looks perfect. This step saves you from making mistakes during the actual installation.
Mark the Installation Position
Use painter’s tape to mark the edges of the spoiler on the trunk.
Once you’re happy with the alignment, grab some painter’s tape. Use it to mark the edges of the spoiler on the trunk. These marks act as a guide during installation.
Measure and adjust to ensure symmetry.
Double-check your marks with a measuring tape or ruler. Make sure the spoiler is centered and symmetrical. Adjust the tape if needed. Taking your time here ensures a balanced and professional look.
Pro Tip: Don’t rush through these preparation steps. A little extra effort now will save you time and frustration later.
With the surface cleaned, the spoiler inspected, and the position marked, you’re ready to move on to the installation process. Let’s get that M4 spoiler securely in place!
Step-by-Step Installation Process
Apply Adhesive or Mounting Hardware
Apply adhesive promoter to the marked area on the trunk.
Start by applying adhesive promoter to the marked area on your car’s trunk. This step preps the surface and ensures the adhesive sticks properly. Use a clean applicator and spread the promoter evenly. Let it dry for a few minutes before moving on. Don’t skip this step—it’s crucial for a secure bond.
Attach double-sided automotive tape to the underside of the spoiler.
Next, grab your double-sided automotive tape. Cut it into strips that fit the underside of the spoiler. Peel off one side of the tape and stick it firmly to the spoiler’s base. Press down to make sure it adheres well. Leave the other side of the tape covered for now. You’ll peel it off when you’re ready to attach the spoiler to the car.
Position and Secure the Spoiler
Carefully align the spoiler with the marked positions.
Now it’s time to position the spoiler. Line it up with the marks you made earlier using painter’s tape. Take your time here. Double-check the alignment from different angles to make sure it’s centered and symmetrical. A little patience goes a long way.
Press down firmly to secure the adhesive.
Once you’re happy with the alignment, peel off the remaining backing from the tape. Carefully place the spoiler onto the trunk, following the marked positions. Press down firmly along the entire length of the spoiler. Apply even pressure to ensure the adhesive bonds securely. If you have a helper, ask them to hold one side while you work on the other.
Use Screws for Additional Security (if applicable)
Drill pilot holes if the spoiler requires screws.
If your spoiler comes with screws for extra security, you’ll need to drill pilot holes. Use a drill with the appropriate bit size and carefully make small holes where the screws will go. Be precise to avoid damaging your car’s trunk.
Use a socket wrench to tighten the screws securely.
Finally, insert the screws into the pilot holes and tighten them using a socket wrench. Don’t overtighten, as this could strip the screws or damage the spoiler. Just make sure they’re snug and secure. Once the screws are in place, give the spoiler a gentle tug to confirm it’s firmly attached.
Pro Tip: If you’re unsure about drilling, practice on a scrap piece of material first. This helps you get a feel for the process without risking damage to your car.
With the spoiler now installed, you’re almost done! The next step is to check the alignment and clean up any leftover tape or adhesive residue.
Final Adjustments and Cleanup
Check the alignment and make necessary adjustments.
Now that the spoiler is attached, take a step back and check its alignment. Look at it from different angles—straight on, from the sides, and even from above. Does it look perfectly centered? If something seems off, don’t worry. You can still make small adjustments before the adhesive fully sets.
If you used screws during the install process, loosen them slightly to shift the spoiler into the correct position. For adhesive-only installations, gently apply pressure to move the spoiler into place. Be careful not to pull too hard, as this could weaken the bond. Once everything looks just right, press down firmly along the entire spoiler again to secure it.
Pro Tip: Use a flashlight or your phone’s camera to double-check the alignment in low light. Shadows can help you spot any uneven edges.
Remove the painter’s tape and clean the area.
With the spoiler aligned, it’s time to remove the painter’s tape. Peel it off slowly to avoid leaving any sticky residue behind. If you notice any leftover adhesive from the tape, use a microfiber cloth and a small amount of isopropyl alcohol to clean it up.
Next, give the entire area a quick wipe-down. Use a clean microfiber cloth to remove fingerprints, smudges, or dust that may have settled during the install. This final touch ensures your car looks as polished as possible. Plus, it’s a great way to admire your hard work!
Opmerking: Avoid washing your car for at least 24 hours after installation. This gives the adhesive time to fully cure, ensuring a strong and lasting bond.
By now, your BMW should be sporting its new carbon spoiler, perfectly installed and looking sharp. Take a moment to admire the transformation—you’ve earned it!
Post-Installation Tips for Maintaining Your BMW M4 Carbon Spoiler
Once you’ve successfully installed your spoiler, it’s important to keep it in top shape. Regular maintenance ensures it stays secure and looks as good as new. Here’s how you can take care of your BMW M4 carbon spoiler.
Inspect the Installation
Ensure the spoiler is firmly attached and aligned.
After installation, take a close look at the spoiler. Check if it’s firmly attached and properly aligned. Run your hand along the edges to feel for any uneven spots. A quick inspection now can save you from future issues.
Check for any gaps or loose areas.
Look for gaps between the spoiler and the trunk. If you notice any loose areas, press them down gently. For spoilers secured with screws, make sure they’re tight. This step ensures your spoiler stays secure, even during high-speed drives.
Tip: Make it a habit to inspect the spoiler every few weeks. It’s a small effort that goes a long way.
Cleaning and Maintenance
Use a microfiber cloth to clean the spoiler regularly.
Dust and dirt can dull the shine of your spoiler. Use a soft microfiber cloth to wipe it down regularly. This prevents scratches and keeps the carbon fiber looking sleek.
Avoid harsh chemicals that could damage the carbon fiber.
Stick to car-safe cleaners when washing your spoiler. Harsh chemicals can weaken the material or ruin its finish. A gentle cleaner paired with a microfiber cloth works best.
Opmerking: If you’re unsure about a product, test it on a small, hidden area first.
Long-Term Care
Periodically check the adhesive or screws for wear.
Over time, adhesives can weaken, and screws might loosen. Check them every few months to ensure everything is still secure. If you notice any wear, address it immediately.
Reapply adhesive or tighten screws as needed.
If the adhesive starts to lose its grip, reapply it to keep the spoiler in place. For screws, use a socket wrench to tighten them. Regular upkeep prevents bigger problems down the road.
Pro Tip: Keep a small toolkit in your car for quick fixes. It’s a lifesaver when you’re on the go.
By following these tips, your spoiler will stay in excellent condition for years. It’s a simple way to protect your investment and keep your BMW looking sharp.
Installing a carbon spoiler on your BMW M4 is more than just a DIY project—it’s a way to elevate your car’s look and performance. By following this guide, you can achieve a professional-quality installation without breaking a sweat. You’ve got the tools, the steps, and the tips to make it happen.
Don’t forget to keep up with regular maintenance. A little care goes a long way in keeping your spoiler secure and looking sharp. So, what are you waiting for? Get started and enjoy the transformation! 🚗✨