


Le guide ultime de bricolage du diffuseur arrière de la M340i

Upgrading your car can feel intimidating, but it doesn’t have to be. Installing an M340i rear diffuser is one of those projects that combines style and function. It’s a chance to give your car a sleek, sporty look while improving its aerodynamics. With this complete guide for fitting, you’ll have everything you need to tackle the job confidently. Whether you’re a seasoned DIYer or just starting out, this project is totally doable. So, grab your tools, roll up your sleeves, and let’s get started!
Principaux enseignements
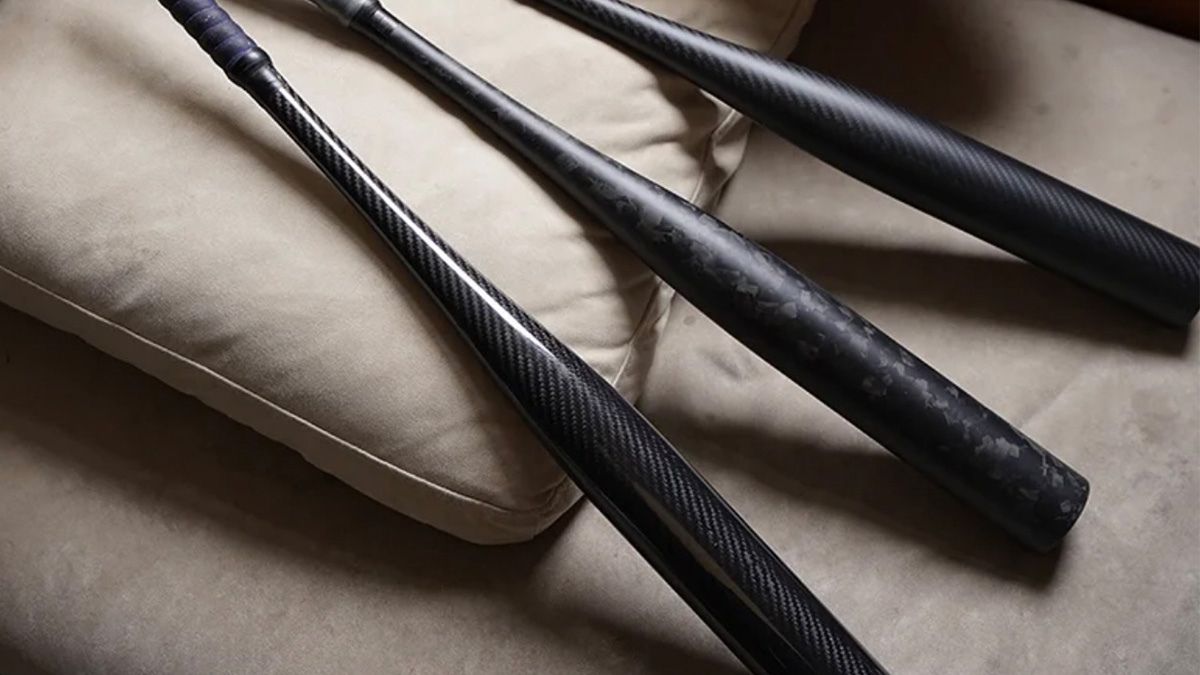
Get all tools and materials ready before you begin. You’ll need screwdrivers, trim tools, and the M340i rear diffuser. Being ready saves time and avoids stress.
Make sure your workspace is clean and bright. A flat area helps you work better and stay safe.
Align the new diffuser carefully. Good alignment stops gaps and makes it look neat.
Clean and check your diffuser often after installing it. Use gentle soap and water to keep it looking good. Check for loose screws now and then.
Take your time while installing. Being patient and careful gives your car a cool, sporty look.
Tools and Materials for Installing an M340i Rear Diffuser

Before you dive into the installation process, it’s essential to gather all the tools and materials you’ll need. Having everything ready will save you time and make the process smoother. Let’s break it down step by step.
Outils essentiels
Screwdrivers and socket wrenches
You’ll need a set of screwdrivers and socket wrenches to remove and secure screws or bolts. These tools are crucial for detaching the old diffuser and attaching the new one. Make sure you have the right sizes to avoid stripping screws.
Outils d'enlèvement des garnitures
Trim removal tools are lifesavers when it comes to prying off the old diffuser without damaging your car’s paint or trim. They’re designed to be gentle yet effective, so you can work with confidence.
Clé dynamométrique
A torque wrench ensures that you tighten screws and bolts to the correct specifications. Over-tightening can damage parts, while under-tightening might leave the diffuser loose. This tool helps you get it just right.
Matériel nécessaire
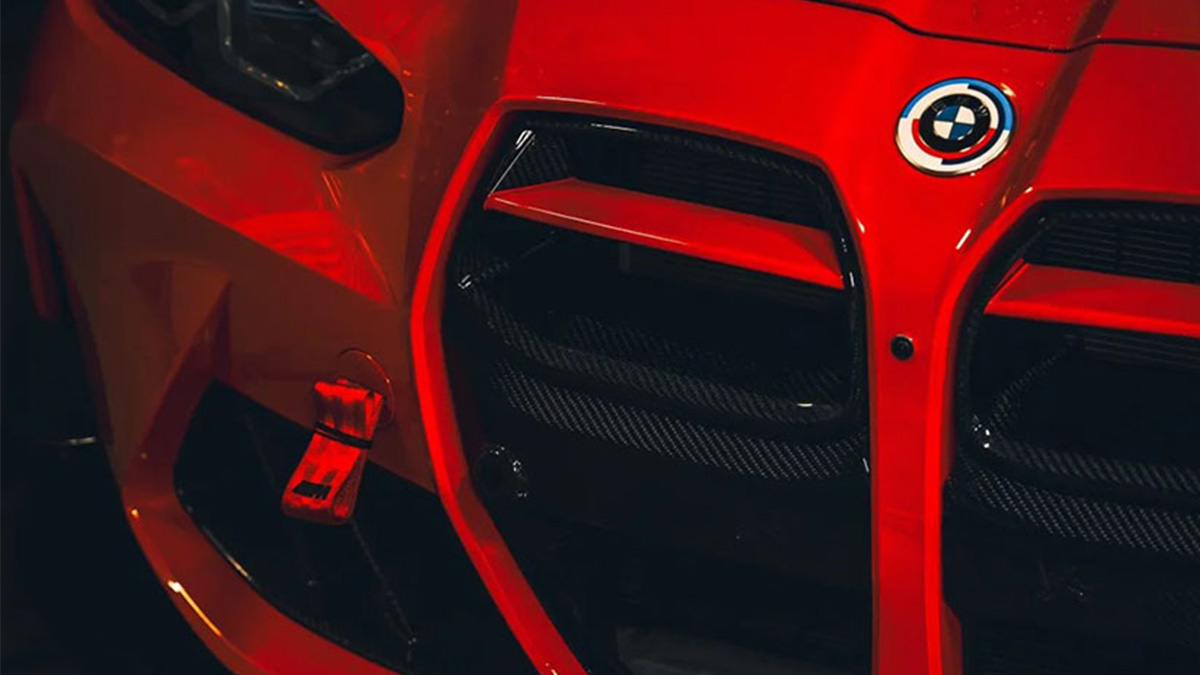
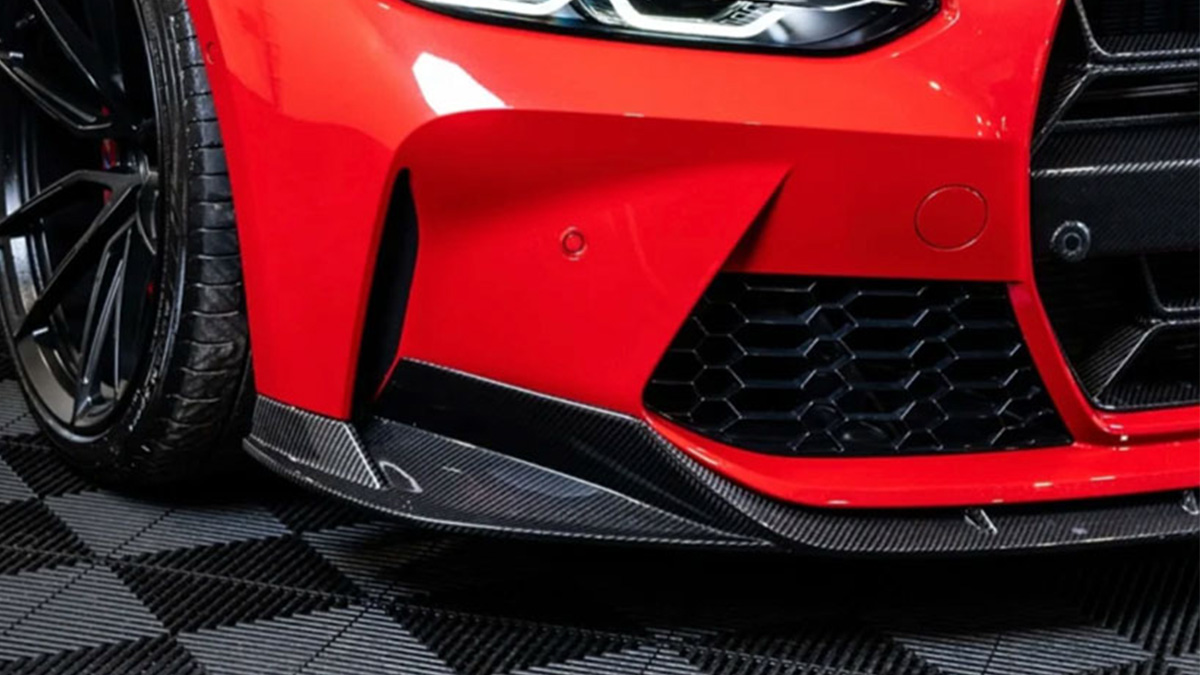
M340i rear diffuser
Of course, the star of the show is the M340i rear diffuser itself. Make sure you’ve chosen one that fits your car’s model and style preferences.
Mounting hardware (if not included)
Some diffusers come with mounting hardware, but if yours doesn’t, you’ll need to purchase it separately. Double-check that you have all the screws, clips, or brackets required for the install.
Cleaning supplies (soap, microfiber cloths)
Before installing the new diffuser, you’ll want to clean the rear bumper area thoroughly. Soap and microfiber cloths will help you remove dirt and grime, ensuring a smooth surface for installation.
Optional Tools for a Professional Install
Heat gun
A heat gun can make removing stubborn clips or adhesive easier. It’s especially helpful if the old diffuser has been in place for a long time.
Double-sided automotive tape
For added stability, you can use double-sided automotive tape. It provides extra grip and helps keep the diffuser securely in place.
Protective gloves
Protective gloves aren’t just for safety—they also keep your hands clean and prevent fingerprints on the diffuser during installation.
Conseil de pro : Organize your tools and materials in one place before starting. This small step can save you a lot of frustration later on.
Preparing for the Installation
Getting ready for the installation is just as important as the install itself. A little preparation goes a long way in making the process smooth and stress-free. Let’s set you up for success!
Setting Up Your Workspace
Clean, flat surface with good lighting
Start by finding a clean, flat surface to work on. A garage or driveway works perfectly. Good lighting is essential too. You’ll want to see every detail clearly, especially when handling screws or aligning the diffuser.
Organize tools and materials in one place
Before you begin, gather all your tools and materials in one spot. Lay them out neatly so you’re not scrambling to find something mid-install. Trust me, this simple step saves time and keeps frustration at bay.
Preparing Your Car
Park on a flat surface and engage the parking brake
Safety first! Park your car on a flat surface and engage the parking brake. This keeps your car stable while you work on the rear bumper.
Clean the rear bumper area thoroughly
Grab your cleaning supplies and give the rear bumper a good scrub. Dirt and grime can interfere with the installation, so make sure the surface is spotless. A clean bumper ensures the new diffuser fits snugly.
Inspect the existing diffuser for damage or debris
Take a moment to inspect the current diffuser. Look for any damage, loose screws, or debris. Removing these beforehand makes the install process much easier.
Safety Tips
Wear gloves to protect your hands
Put on a pair of gloves before you start. They’ll protect your hands from sharp edges and keep the diffuser free of fingerprints.
Avoid working under the car without proper support
If you need to get under the car, always use proper support like jack stands. Never rely on the car’s jack alone. Your safety is non-negotiable.
Conseil de pro : Double-check your tools and workspace before starting. A little extra preparation can save you from unnecessary delays.
Step-by-Step Install Guide for the M340i Rear Diffuser

Removing the Old Diffuser
Locate and remove screws or clips securing the old diffuser
Start by identifying all the screws or clips holding your current diffuser in place. These are usually located along the edges and underneath the rear bumper. Use a screwdriver or socket wrench to carefully remove them. Keep the screws or clips in a safe spot—you might need them later.
Use trim removal tools to gently pry it off
Once the screws or clips are out, grab your trim removal tools. Slide the tool under the edges of the diffuser and gently pry it away from the bumper. Take your time to avoid scratching the paint or damaging the bumper. If it feels stuck, check for any hidden fasteners you might’ve missed.
Clean the exposed area before proceeding
With the old diffuser removed, you’ll see the exposed bumper area. Use soap and a microfiber cloth to clean it thoroughly. This step removes dirt and residue, giving you a smooth surface for the new diffuser.
Aligning the New Diffuser
Test-fit the new diffuser to ensure proper alignment
Before securing anything, hold the new diffuser up to the bumper and test-fit it. Check how it lines up with the contours of the rear bumper. This step helps you spot any alignment issues early.
Adjust as needed to match the bumper contours
If the diffuser doesn’t sit perfectly, make small adjustments. Shift it slightly until it fits snugly against the bumper. A proper fit ensures a clean, professional look once installed.
Securing the New Diffuser
Attach the diffuser using screws, clips, or mounting hardware
Now it’s time to secure the diffuser. Use the screws, clips, or mounting hardware that came with it. If you’re reusing the old screws, make sure they’re in good condition. Start by loosely attaching everything to ensure alignment.
Tighten all fasteners evenly to avoid misalignment
Once everything is in place, tighten the screws or clips evenly. Work your way around the diffuser, tightening each fastener a little at a time. This prevents misalignment and ensures a secure fit.
Use double-sided tape for additional stability, if needed
For extra stability, apply double-sided automotive tape along the edges of the diffuser. Press it firmly against the bumper to create a strong bond. This step adds an extra layer of security, especially if you drive on rough roads.
Conseil de pro : Take a step back and inspect your work after securing the diffuser. A quick visual check can help you spot any gaps or uneven edges.
Final Adjustments
Check for gaps or uneven edges
Once the new diffuser is secured, take a step back and inspect your work. Look closely at the edges where the diffuser meets the rear bumper. Are there any noticeable gaps? Do the edges sit flush against the bumper? These small details can make a big difference in how professional the final result looks.
If you spot any gaps, don’t panic. Sometimes, screws or clips might not be tightened evenly, causing slight misalignment. Loosen the fasteners near the problem area and adjust the diffuser until it fits snugly. If you used double-sided tape, press down firmly along the edges to ensure it adheres properly. A quick visual check from different angles can help you catch anything you might’ve missed.
Conseil de pro : Use a flashlight to inspect hard-to-see areas. Shadows can sometimes hide uneven edges, so good lighting is your best friend here.
Make minor adjustments to ensure a snug fit
Now that you’ve checked for gaps, it’s time to fine-tune the fit. Gently push or pull the diffuser to align it perfectly with the contours of the bumper. If the diffuser feels slightly off, don’t hesitate to make small adjustments. The goal is to achieve a seamless look that blends naturally with your car’s design.
Pay extra attention to the corners and edges. These areas are more prone to misalignment. Tighten the screws or clips gradually, alternating between sides to keep the diffuser balanced. If you’re using tape, apply even pressure across the entire surface to create a strong bond.
Once everything looks perfect, give the diffuser a gentle tug to ensure it’s securely attached. A snug fit not only enhances the appearance but also ensures the diffuser stays in place during everyday driving.
Remarque : Don’t rush this step. Taking your time here will save you from having to redo the install later.
With these final adjustments, your m340i rear diffuser install is complete! You’ve followed the install guide step by step, and now your car’s rear looks sleek and polished. Enjoy the satisfaction of a job well done!
Troubleshooting and Tips for a Smooth Installation
Even with the best preparation, you might run into a few hiccups during your diffuser installation. Don’t worry—these tips will help you tackle common challenges and achieve a professional finish.
Common Challenges
Difficulty removing old clips or screws
Sometimes, old screws or clips can be stubborn. Rust, dirt, or age might make them hard to remove. You might find yourself struggling to loosen them, which can slow down the process.
Misalignment of the new diffuser
Getting the diffuser to line up perfectly with the bumper can be tricky. Even a slight misalignment can leave gaps or make the diffuser look uneven. This is a common issue, especially if you’re working alone.
Solutions to Common Issues
Use a heat gun to loosen stubborn clips
A heat gun can work wonders on stuck clips or screws. Apply gentle heat to the area for a few seconds. This softens the material and makes it easier to remove. Be careful not to overheat, as this could damage nearby parts.
Enlist a friend to help with alignment
Aligning the diffuser is much easier with an extra set of hands. Ask a friend to hold one side while you adjust the other. This teamwork ensures the diffuser stays in place while you secure it. Plus, it saves you from unnecessary frustration.
Conseil de pro : If you don’t have a heat gun, a hairdryer on high heat can be a good alternative.
Tips for a Professional Finish
Take your time during alignment
Rushing through alignment can lead to mistakes. Take your time to ensure the diffuser fits snugly against the bumper. Small adjustments make a big difference in the final look.
Clean the diffuser and bumper after installation
Once the diffuser is installed, give it a quick clean. Use a microfiber cloth to wipe away fingerprints or smudges. A clean finish makes your work look polished and professional.
Remarque : Patience is key. A little extra effort now will save you from redoing the job later.
By addressing these challenges and following these tips, you’ll end up with a sleek, perfectly installed diffuser that enhances your car’s look and performance.
Maintaining Your M340i Rear Diffuser
Keeping your M340i rear diffuser in top shape doesn’t have to be complicated. With a little regular care and attention, you can ensure it stays looking sharp and performing well for years to come. Let’s dive into some simple maintenance tips.
Nettoyage et entretien
Use mild soap and water to clean regularly
Regular cleaning is key to maintaining your diffuser’s sleek appearance. Use mild soap mixed with water and a soft microfiber cloth to gently wipe away dirt and grime. This method is safe and effective, leaving your diffuser spotless without causing damage.
Conseil : Clean your diffuser every few weeks or after driving through muddy or dusty conditions. This prevents buildup that can dull its finish.
Avoid abrasive cleaners that can damage the finish
Stay away from harsh chemicals or abrasive cleaners. These products can scratch or discolor the surface, ruining the diffuser’s polished look. Stick to gentle cleaning solutions to keep it looking like new.
Inspecting for Wear and Tear
Check for loose screws or clips periodically
Over time, screws or clips might loosen due to vibrations or road conditions. Make it a habit to inspect them every few months. Tighten any that feel loose to prevent the diffuser from shifting or falling off.
Address scratches or scuffs promptly
Scratches and scuffs are inevitable, especially if you drive in tight spaces or on rough roads. Don’t ignore them! Use a scratch remover or touch-up paint to fix minor blemishes before they worsen.
Long-Term Maintenance
Apply a protective coating to maintain the finish
A protective coating can work wonders for your diffuser. It shields the surface from UV rays, dirt, and moisture, keeping it looking fresh. Apply a high-quality automotive sealant or wax every few months for the best results.
Avoid harsh impacts or excessive force on the diffuser
Be mindful of how you handle your car. Avoid backing into curbs or parking barriers, as these can crack or damage the diffuser. Treat it with care to ensure it lasts as long as possible.
Conseil de pro : Regular maintenance not only keeps your diffuser looking great but also saves you money on repairs or replacements down the road.
By following these simple steps, you’ll keep your M340i rear diffuser in excellent condition. A little effort goes a long way in preserving its style and functionality!
Installing a rear diffuser on your 2022 bmw m340i is a fun and rewarding project. It’s a chance to enhance your car’s look and performance while learning something new. With this guide, you’ve got all the tools and steps you need to get the job done right. Take your time, follow each step carefully, and enjoy the process. Once you’re finished, you’ll love how sleek and sporty your m340i looks. So, what are you waiting for? Dive in and make your car stand out!